
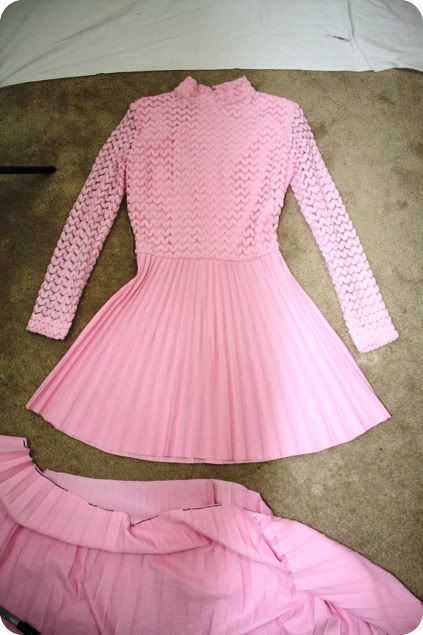
When it comes to vintage treasure-hunting, sometimes a dress just needs a little tender love and care to reach its full potential. The number one rule of thrift-shopping: keep an open mind!
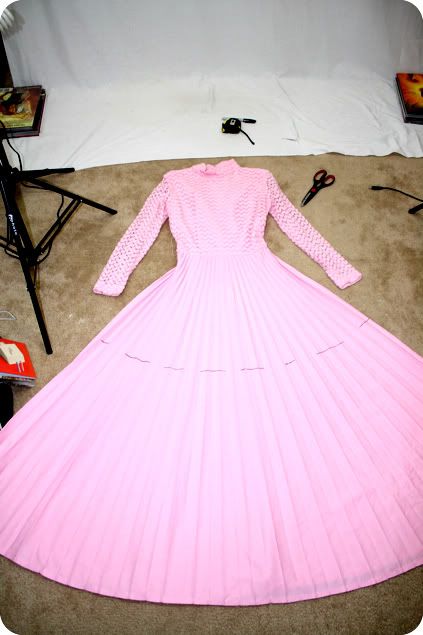
When we found the charming mini pictured above, it had about 4 feet more length to it. Although the accordion skirt was magnificent, it was made of a stiff, thicker dacron poly, which was common in the '60s. The result? It was too cumbersome and heavy to wear. But the pink crocheted lace top caught my eye and I knew just how to save it.
 I bought this dress for $1. If I took it to a seamstress, I could pay $10 for a professional hem, and it would still be a worthy investment. But in the interest of saving money, I decided to perform a handcut hem. Amongst my vintage-obsessed (albeit sewing-inept) comrades, this is the smartest way to go.
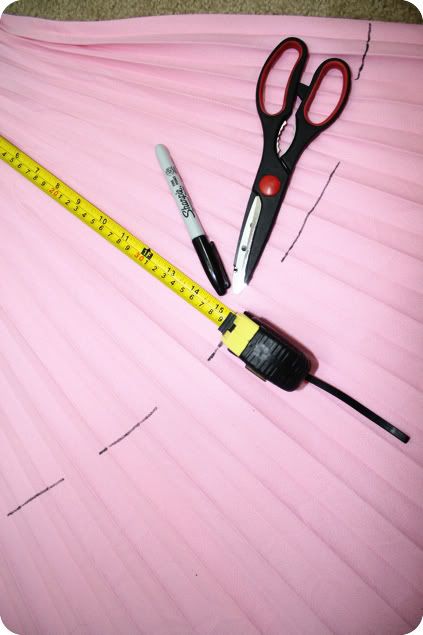
If you are going to cut a dress by hand, you will need:
- Scissors
- Pencil
- Measuring Tape
- Clean Open Space
 Step 1: Lay your dress on a flat surface. Make the shoulders align. Keep the waist line straight. Sleeves outward. And spread the skirt completely open.
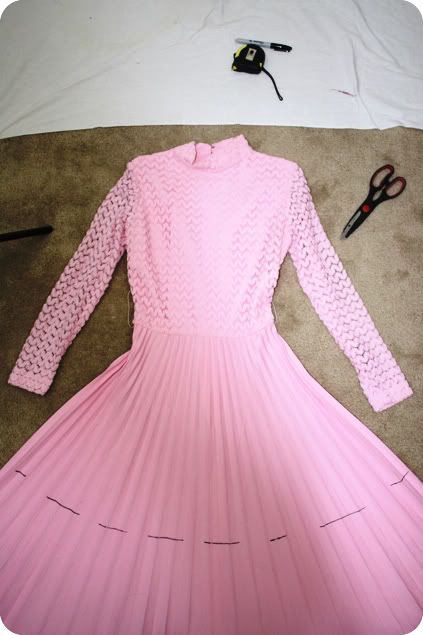
Step 2: Measure the length you would like the dress to be, starting from the shoulder. Most mini dresses are between 30"-33" inches in length depending on the person's height (my default is 32"). Make a small mark.
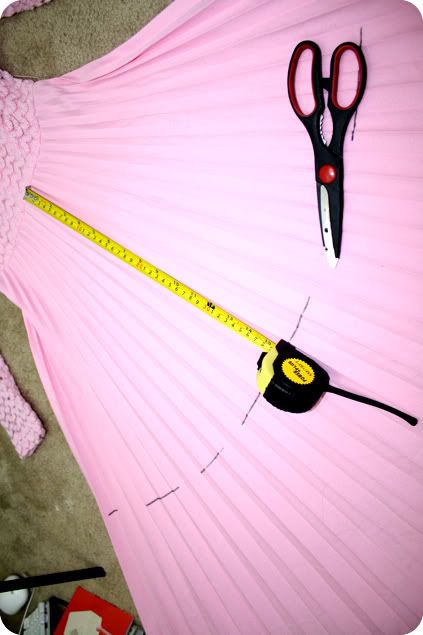 Step 3: You will create a series of marks to guide where you want to cut. Each mark should be the same distance, either measured from the waist to the new hem, or the new hem to the original hem (whichever is easier). So my new hem will be 16" inches from the waist line, therefore I will make marks at 16" inches all the way across.
Step 4: Do this on both sides. Most seamstresses would scold you if you try cutting straight through both sides at once. You run the risk of cutting the bottom half unevenly, crooked, or shorter.
Step 5: Okay, take a deep breathe. Chances are, if you picked this up from a thrift store, you probably didn't spend too much to begin with so try to relax. Take your scissors (DIY tip: I use a pair of cutting shears from the kitchen) and slowly start cutting along your trace marks. Cut each side one at a time. Take your time and make nice, even cuts.
If you have an A-line hem, remember to cut appropriately (it should be a rounder edge, not directly straight across).
 Step 6: Almost finished! Now waft the dress out and lay flat once more. Check to ensure the front and back hem line up and are the same length. Make any quick snips to correct.
If you're working with a dacron polyester like this one, it should not thread or fringe. However most fabrics over time will start to fringe. This is perfectly kosher in the world of vintage wears. Most thrifters in Hollywood are perfectly comfortable rocking a totally DIY vintage dress. And remember, you can always have it professionally hemmed.

Voila! The finished product. On sale now at Alameda Vintage.
xo,
Sabrina London
You did a great job on that dress!! The shorter length is perfect :-)
ReplyDelete