
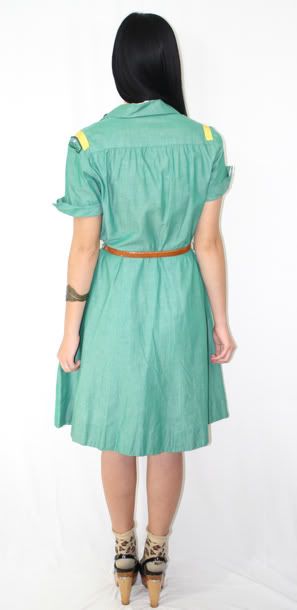

Vintage 1940's Girl Scout of America Dress - On sale now at Alameda Vintage.
xo,
Sabrina London


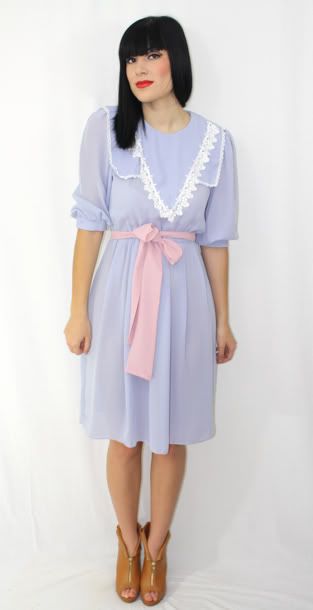
 I bought this dress for $1. If I took it to a seamstress, I could pay $10 for a professional hem, and it would still be a worthy investment. But in the interest of saving money, I decided to perform a handcut hem. Amongst my vintage-obsessed (albeit sewing-inept) comrades, this is the smartest way to go.
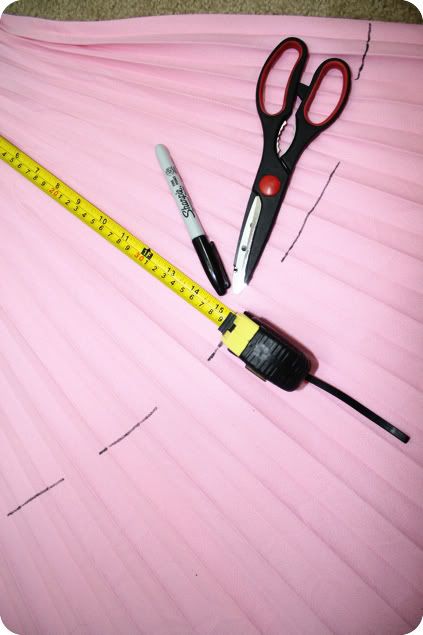
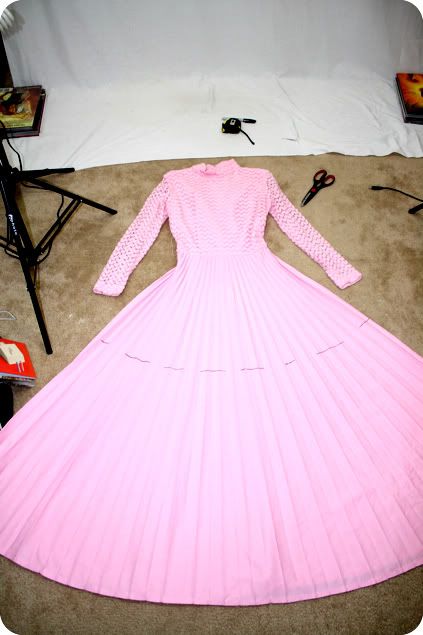
 Step 1: Lay your dress on a flat surface. Make the shoulders align. Keep the waist line straight. Sleeves outward. And spread the skirt completely open.
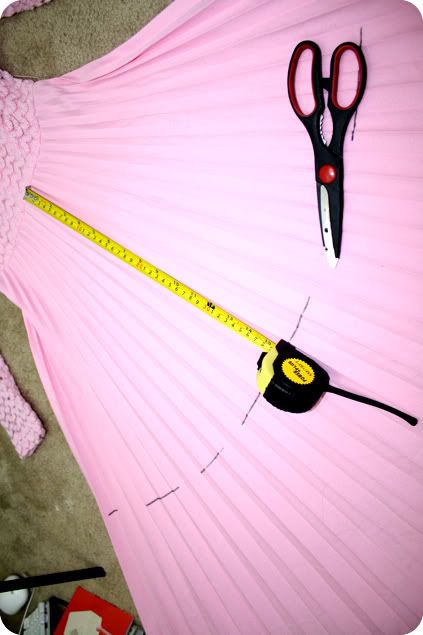 Step 3: You will create a series of marks to guide where you want to cut. Each mark should be the same distance, either measured from the waist to the new hem, or the new hem to the original hem (whichever is easier). So my new hem will be 16" inches from the waist line, therefore I will make marks at 16" inches all the way across.
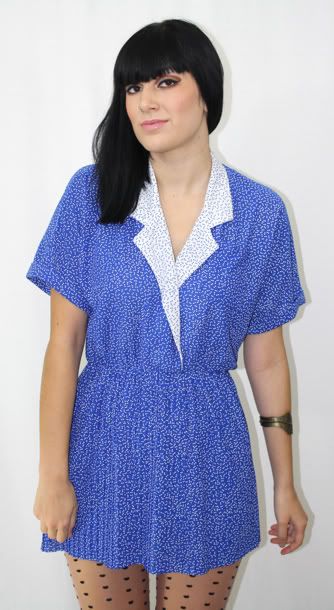
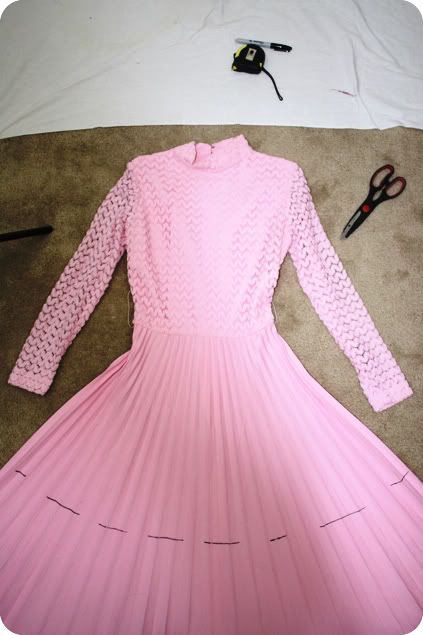
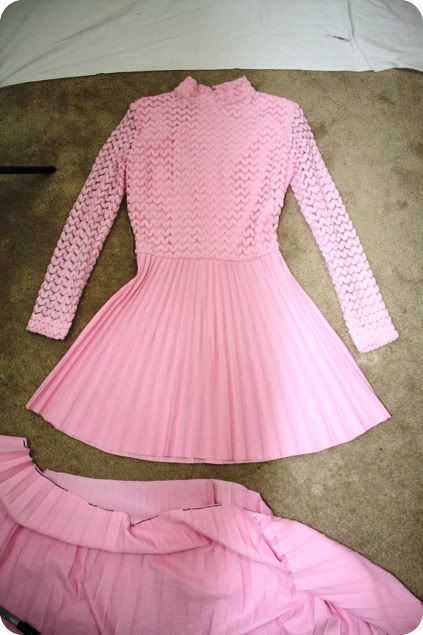 Step 6: Almost finished! Now waft the dress out and lay flat once more. Check to ensure the front and back hem line up and are the same length. Make any quick snips to correct.

 I'm also slack-jawed over this vintage burnout silk gypsy cape at Bustown Modern. The translucent cut-outs and female graphic are just insane. I'm a little weary of wearing tassels (as a general rule), but if any coat could dissuade me, this is it. Just magnificent.
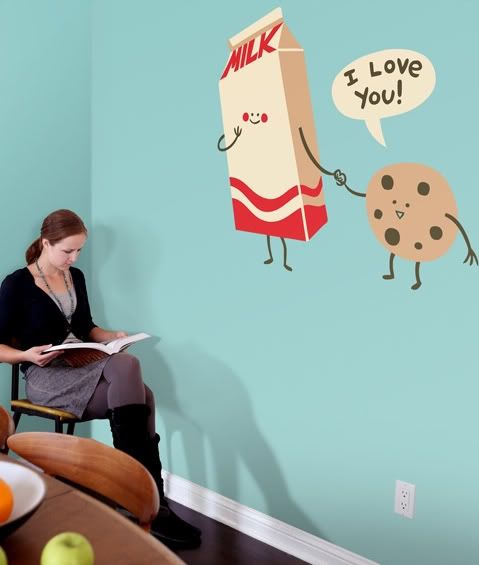
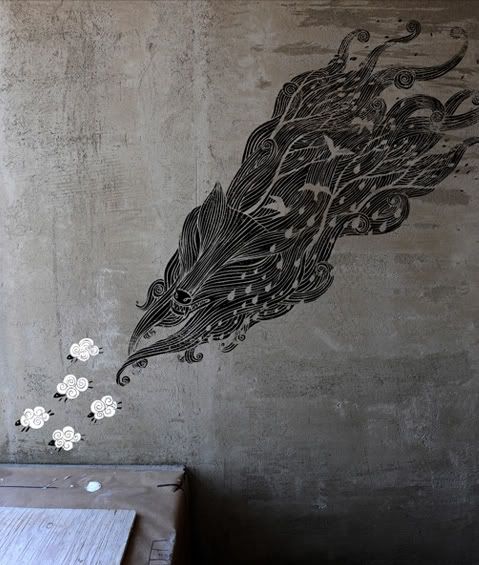
 My husband and I are a pair of 20-something-year-old screenwriting/comedy improving/vintage hawking/Myspace workin' folks with very little time for much else. But ever since we moved into our new apartment, we've really wanted to make the space feel like home. Much hipster fag debate has transpired, arguing the merits of "modern minimalism" vs. "indie shabby chic" as an aesthetic.


 Grab some comfort food and a sharpened weapon: it's an